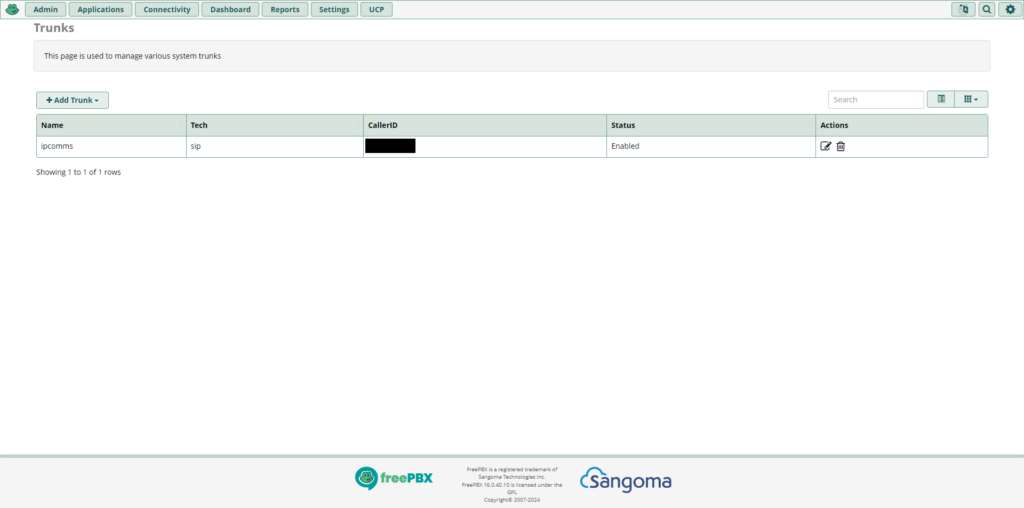
This blog post will explain how to add an SIP trunk to an existing A2billing installation. First a trunk has to be defined in the FreePBX control panel. That is done by clicking connectivity from the FreePBX dashboard. After that click the add trunk button to create a SIP trunk.

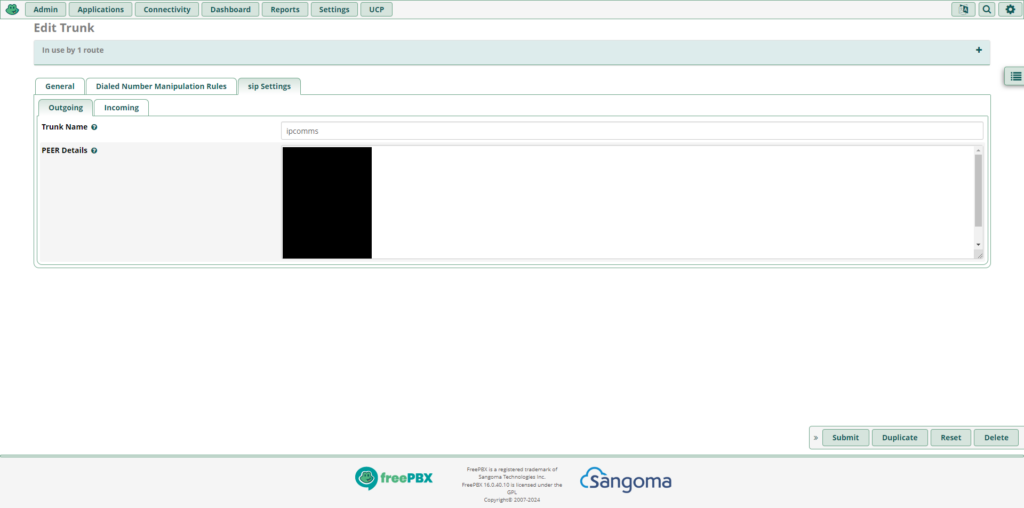
In the section where the trunk is created, click the sip settings tab and click on the outgoing tab. Be sure to pay attention to the trunk name.

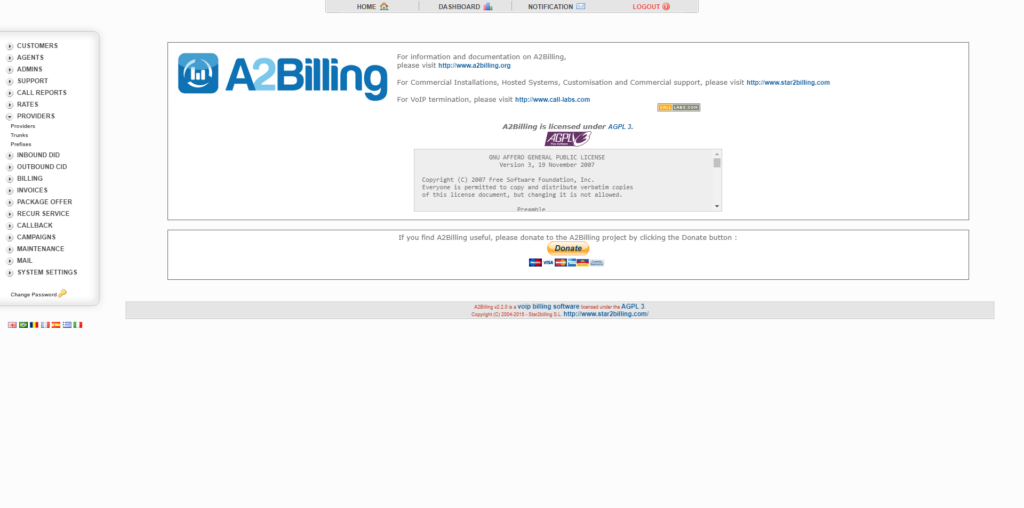
That is the name that will be used for the a2billing admin panel. Once the panel has been brought up, click providers and trunks.

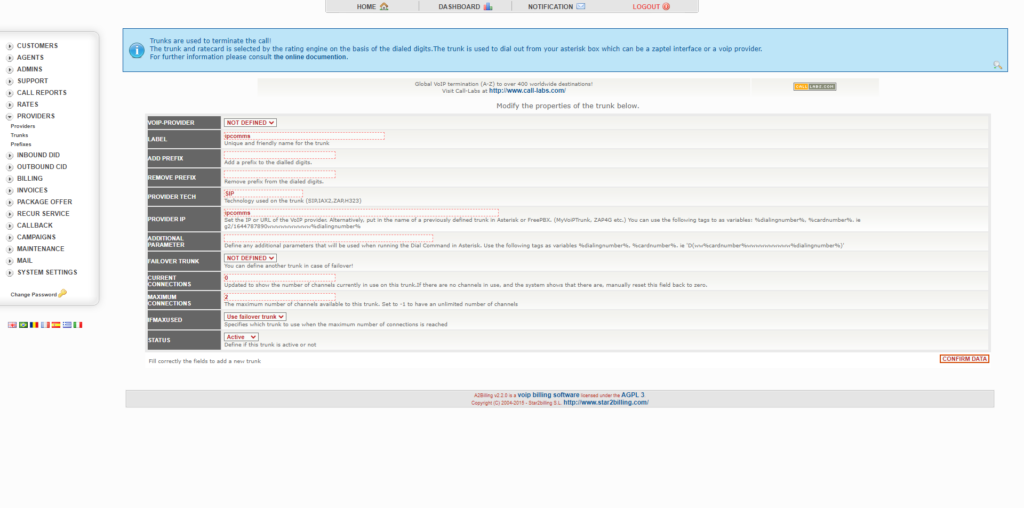
In the configuration section for an SIP trunk, take the name of the trunk that is defined within FreePBX and paste it into provider ip.

Click confirm data for the changes to take effect.
A2billing 2.2 and FreePBX 16 was used to write this blog post.